Testing with the Payflow gateway
This article is based on the Testing with the Payflow gateway page. Some comments and screen shots have been added to help you.
Follow the steps as described here: Testing with the Payflow gateway PayPal page
Part I: Creating a test-only Payflow account
Once, your account is created, your Payflow test credentials are:
- Payflow vendor: the Merchant Login used during registration
- Sandbox Payflow partner: PayPal
Part II: Creating a UK Business account in the sandbox
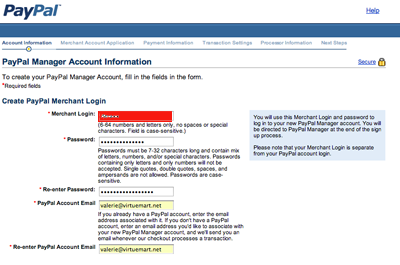
Get PayPal Sandbox Credentials
Read more: Get PayPal Sandbox Credentials
Part III: Setting up the manager
-
Log in to https://manager.paypal.com
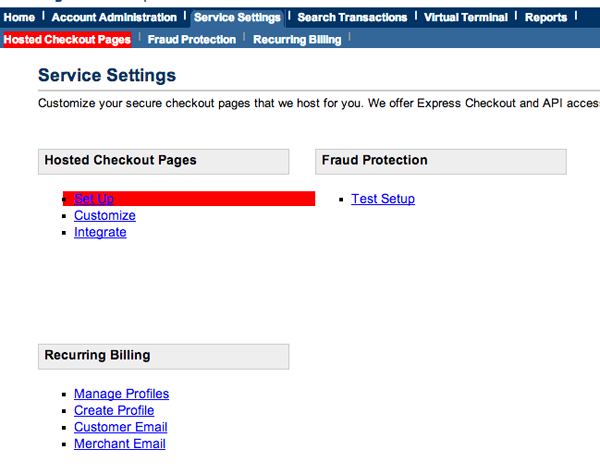
- go to Service Settings => Hosted Checkout Pages => Set Up.
- Verify that Transaction Process Mode is set to "Test".
- For Error URL, enter a placeholder such as
http://there.was.an.error(secure token API can override this; see the demo code at the end of this guide) - Under "PayPal Express Checkout", paste your UK Business account email from PART II into the "PayPal Sandbox email address" field. This is the most vital step! If the email is missing, or if there are spaces after it in the textbox, testing will produce an "Invalid Merchant Configuration" or "PayPal Express Checkout is not set up on this account!" error
- Under Billing Information => "Make these fields required", check the box next to CSC. Do the same under "Make these fields editable."
- Under Payment Confirmation, change "Show confirmation page" to "On my website".
- At the very bottom, change "Enable Secure Token" to "Yes"
- "Save Changes"

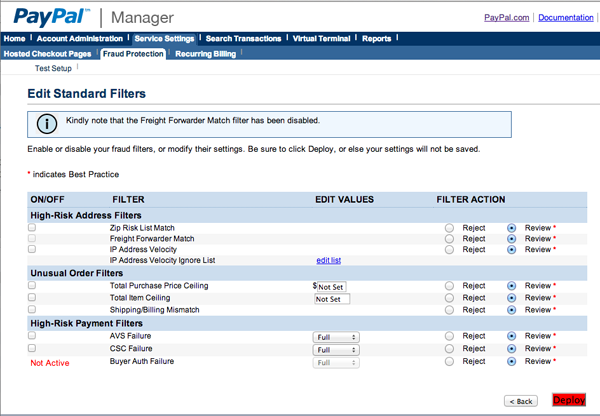
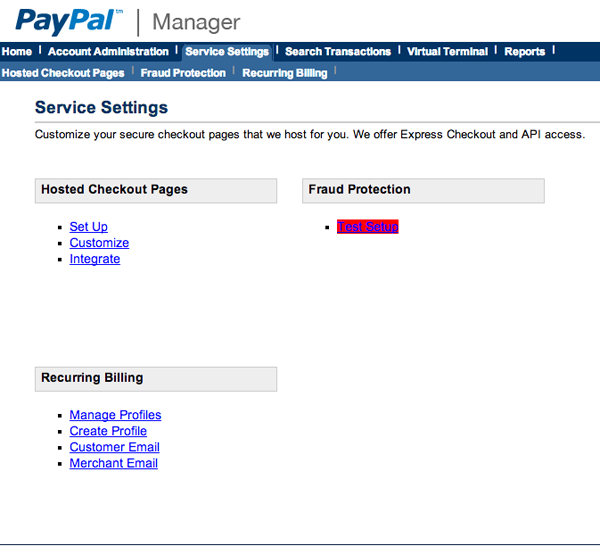
- Go to Service Settings => Fraud Protection => Test Setup => Edit Standard Filters
- Uncheck all the boxes on the leftmost column, and "Deploy".